Tuesday, October 25, 2011

Double Period Project 1812/ 1912

So, we have the inspiration illustrations and paintings, we have the fabric.  Pattern(s) will be next.

Even though I already had a pattern, the Tailor's Guide, I really wanted a "M" notch collar pattern. I so I purchased this Rocking Horse Farm pattern from http://www.lostcoasthistorical.com/
It was on sale, 20% off of the listed price.
   
Pattern pieces retraced and cutout.

This my cat Max inspecting the underside of the mockup fabric.  He is not allowed to be on the
fabric, but that doesn't mean he can't be under the fabric.

 
The bump in the upper right hand corner of the fabric is still Max.  He is really doing
a thorough job.

The top pattern piece required you to tape the side front to the front piece.  I used blue painter's tape, it doesn't damage the pattern piece. It comes off easily as well.
The collar pattern piece, lower center contains the notch.
 

The mockup is pretty much put together. The fabric was some of the first fabric that I purchased when I first taught myself to sew, about three or four years ago.


Sunday, October 23, 2011

Double Period Project 1812 / 1912

The frockcoat is the next item of clothing to make according to the initial project plan for the 1812 promenade suit. One of the distinctive features of the coat was its "M" notched collar.  I had purchased the Tailor' Guide pattern a couple of years ago from http://www.lostcoasthistorical.com/.  Once again, there was a sale and I took the opportunity to add the pattern to my collection, but I had never used it.

One of the draw backs with this pattern, it did not have the "M"  notched collar.  Through my initial research, I found that both types were used by gentlemen.  Again, I guess that it was a personal preference or simply left to the gentleman's tailor to decide.

This illustration from Victoriana.com does not have a notched collar. It is the primary inspiration for my 1812 outfit.

This frockcoat is quite dark, but you can clearly see the "M" notched collar.

A linen frockcoat from the V& A museum, it does not have notched collar.

A double breasted frockcoat.

I just wanted to make one with the "M" notch.

Wednesday, October 19, 2011

Double Period Project 1812 / 1912

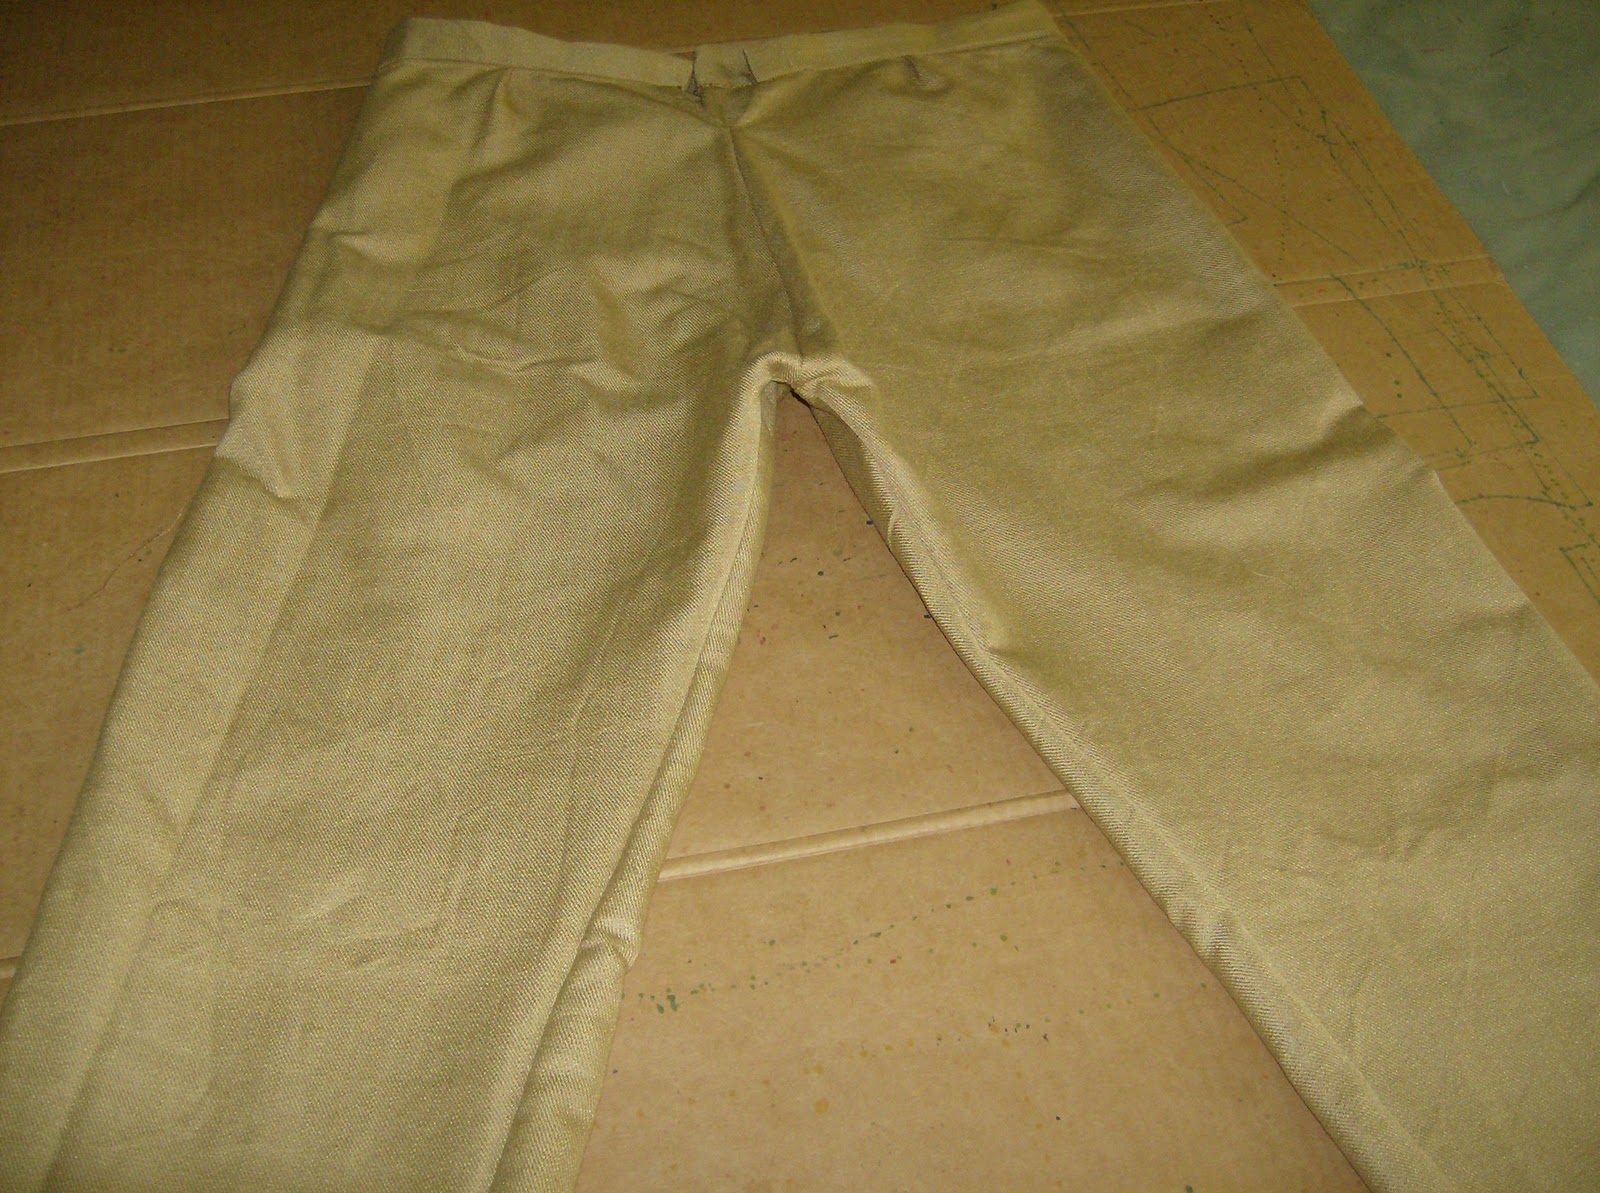
Well, almost done with these trousers.  I really like the way that these are turning out.  They were supposed to be the mockup trousers.  But, I think that I just might use these instead of the other material that I had selected.

Pining the crotch area and lining up the seams.  I think that I finished all of the seams of these trousers as well.  Again extra work, but important.

The fall front of the trousers, the lower front fall at the bottom, is not quite right. It is just a little bunchy, I may have to tack that down just a bit.  You can see the crotch seam a bit in this picture.


The back of the pants, this area, will contain three lace holes to tighten the trousers.
I thouught that they would be a bit baggy in the back.  Well, I guess I have put on a couple of pounds, they are not as baggy as I would have liked.

A better view of the crotch area.  This is another of those tricky areas in men's pant making that can be problematic. I am pleased with this.


Yea Me! trousers are down, well the really hard part at least.

I usually save the button sewing for last. I plan to work the button holes by hand instead of using the sewing machine this time around. We will see how that goes.

Oh, you can just barely see it, but the trousers seams at the bottom are not sewn.  They will be finished and left open as in the inspirational pictures from the previous post.  I kind of like that look.
I am really pleased with the way that these trousers came together. Now, all that remains to be done are hems for the trousers, button and lace holes and of course attach the buttons.

Next up, the biggy, the 1812 Frockcoat.

Monday, October 17, 2011

Double Period Project 1812 / 1912

Progress continues with the trousers. The pattern instructions are easy to follow.  However, this pattern does require a lot of hand sewing.  I really think that the last time that I attempted to make breeches similar to these trousers, I opted to machine sew where the instructions requested hand sewing.  I can see the difference. It does take a bit more time to do the hand stitching, but, the results are really worth it. I am so glad that I did the required hand stitching this time around even for these mockups.


The front portion of the trousers, as you can see are coming together nicely.  This is also one of the problem areas in the fall front trousers and breeches.  It is not easy to get that fall to behave itself and not bunch or pull.  The goal is to have a smooth flat fall front.  I have seen some costumers place extra buttons in this area to help with this issue. 

The back legs and seat of the trousers.

This is a better view of the potential problem area.  You see right at the bottom of each left and right flap where they attach to the trouser front.  The fall front will come up to cover these flaps, the place where the fall and the flaps meet can cause problems.


The backs have been attached, at center back you can see hand stitching.  The kind of "V" shape at center back will have small button holes for a short rear laces to adjust the fit of the trouser back.  This was quite common. The trouser backs were supposed to be quite full.

More hand stitching required for the interior of the waistband.
I am pretty pleased with this little bit of stitchery.

Sunday, October 16, 2011

Double Period Project 1812 / 19112

For the 1812 trousers, I already had a couple of patterns. I had the Butterick 3648 Making History pattern and the Mill Farm Man's Breeches circa 1770 - 1800.  This was the Waterloo pattern.  It just did not come together.   One of the online pattern stores that I use is  http://www.lostcoasthistorical.com/ ,  the store was having a sale with a 20% discount, so, I decided to buy the Buckaroo Bobbins Authentic vintage western pattern for broad fall trousers.  Once, I got the pattern, I read the instructions, they were clearly written, step by step.  I really liked that.  It really helps, especially, if you have not made a particular historical item before. 

As I have said before, I no longer cut up my paper patterns, but instead, I make a copy and use the copy. In that way, I always have the original to review and check markings etc.  Once you cut a paper pattern, it is cut, and it is so easy to lose a pattern piece.

I need to definitley make a mockup of these trousers first.  The above picture is of the inside flap that the fall covers. 
Lesson 1, read your pattern instructions before you start, once or twice at least.  If you are not sure about some particular aspect of the pattern instructions, you can research it to find out how to do it, even obtain a tutorial, before you have to do it during construction.

That's Max, he really wanted to lay right on the pattern and fabric. As you can see, he's as close to it he can get.  Other times, I tell him no, he will just walk across the fabric and pattern since he is not allowed to lay on it.

Mockup first, extra 2 1/2 yards of remant material that I got from my favorite fabric store, Jomar. Anyway, it was just enough.

The inside flaps have been attached.  I think that they have a name, but I can't remember.  The mockup fabric is a nice cotton blend.  Actually, the color is pretty good for the period as well.  The trousers tended to be lighter in color for the day and darker for even or formal wear.   However, white breeches / trousers were also worn for formal events as well.

Double Period Project 1812 / 1912

The next article of clothing to be made for the man's 1812 walkinng or promenade suit, are the trousers. Fall front trousers to be exact.  Although, breeches were still being worn, trousers according to the  literature were increasing being worn by men from all walks of life. 

I had attempted to make fall front breeches before and met my Waterloo.  They never got beyond the mockup stage.  I hated them. There were two styles, the wide fall front and the small fall front.  From the illustrations and paintings, it seemed to me, that the trousers were all wide fall front.  So, I will be making wide fall front trousers.


Notice in the illustration above, you can  barely discern that trousers are fall front.  However, they are and wide ones at that.

Even in this painting, you can clearly see the fall front.  In this case, these are breeches, you can see the button closures at the knee.

Once again, the wide fall front is just barely visual.  Getting that fall to lay properly is really difficult.  You don't want a big bunch of material where the fall starts.  In all of the above pictures, there appears to be a very clean transition.  This could just be the illustrations and painting omitting the problem bunching that can occur in this area. The aim is to have a very clean transition.

Thursday, October 13, 2011

Double Period Project 1812 / 1912

Ta Da, the finished waistcoat.  I think that it came out pretty well and and I quite pleased with it.  I like the larger standup collar.  Currently, I have pins holding it together.  Buttons will come later, the bulk of this task is done.  Well almost, all of the edges must be pick stitched to stop the lining from rolling to the outside.
But, I really don't mind doing that, it really makes a difference.


The finished waistcoat.  I should have placed the shirt inside before I took this picture, but I didn't think of it.

The lining with the fabric as facing.  The pockets are just flaps to mimick pockets, there really wasn't enough space left to make actual pockets.  I don't know if you can see, but I started the pick stitching, all of the edges will be pick stitched.